

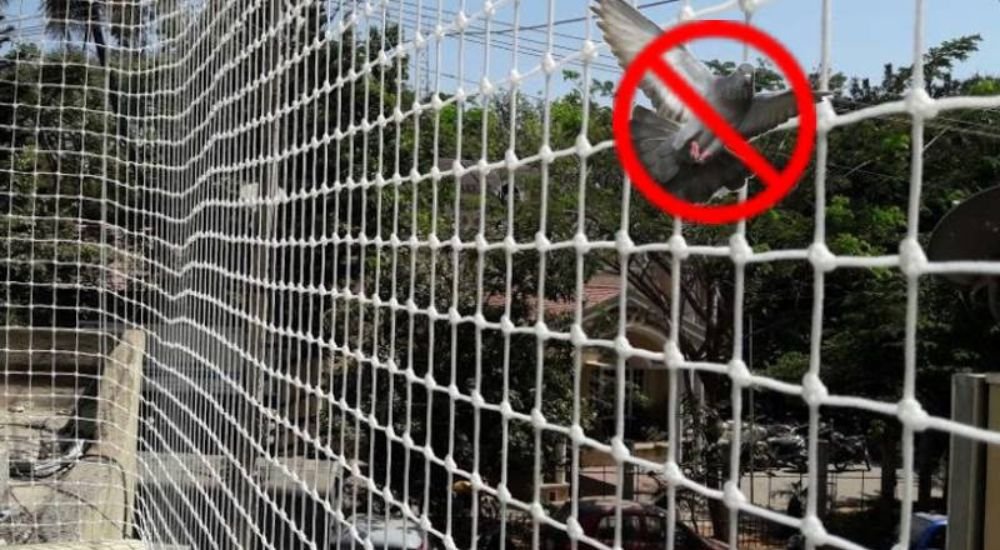
Installing Pigeon Netting on Your Balcony
Introduction:
Are you tired of dealing with pesky pigeons invading your balcony? Are their droppings and nests causing a nuisance? If so, installing pigeon netting can be an effective solution to keep these birds at bay. In this guide, we will walk you through the process of installing pigeon netting on your balcony, providing you with a step-by-step approach to protect your space and enjoy a pigeon-free environment.
Step 1: Assessing your Balcony:
Before you begin the installation process, it’s crucial to assess your balcony to determine the areas that need to be covered with pigeon netting. Look for any potential entry points or perching spots where pigeons can access your balcony. These may include gaps between railings, ledges, or any other open areas.
Step 2: Choosing the Right Netting Material:
When it comes to selecting pigeon netting, there are a few factors to consider. The material should be durable, weather-resistant, and capable of withstanding pigeon activity. The most commonly used materials for pigeon netting include polyethylene, nylon, and stainless steel. Consult with Niharika Enterprises or a reputable supplier to find the netting material that suits your specific requirements.
Step 3: Measuring and Cutting the Netting:
Once you have chosen the appropriate netting material, measure the dimensions of your balcony area that requires coverage. Ensure that you have enough netting to span the entire perimeter of your balcony. Use scissors or a utility knife to cut the netting to the desired size, leaving a few inches of extra material on each side for attachment.
Step 4: Installing the Netting:
To secure the netting, you will need appropriate fixtures and fasteners. Here’s how to proceed:
a. Attach hooks or eyelets: Install hooks or eyelets along the edges of your balcony structure, ensuring that they are strong enough to support the weight of the netting.
b. Thread the netting: Start by attaching one corner of the netting to a hook or eyelet and slowly work your way around, securing the netting along each edge. Be sure to pull the netting tight to prevent any gaps where pigeons could enter.
c. Secure the netting: Use cable ties or zip ties to fasten the netting to the hooks or eyelets, ensuring a sturdy and tight fit. Space the ties approximately every 12 to 18 inches to ensure even tension.
d. Trim excess netting: Once the netting is securely in place, carefully trim any excess material using scissors or a utility knife, leaving a neat and tidy finish.
Step 5: Regular Maintenance:
While pigeon netting is a highly effective deterrent, it requires regular maintenance to ensure its longevity. Regularly inspect the netting for any signs of damage or wear and tear. In case of any damage, promptly repair or replace the affected areas to maintain the effectiveness of the netting.
Conclusion:
By following these step-by-step instructions, you can successfully install pigeon netting on your balcony and create a pigeon-free sanctuary. Remember, a well-installed and properly maintained pigeon netting system can protect your balcony from pigeon infestations and their associated problems. If you need assistance or professional guidance, don’t hesitate to reach out to Niharika Enterprises or consult with an expert in the field. Enjoy your pigeon-free balcony and make the most of your outdoor space without any unwanted interruptions!